Attic Insulation Musts: A Complete DIY Guide to Foam Board and Major Cost Savings
Proper attic insulation is one of the most effective ways to make your home more energy-efficient, reduce heating and cooling costs, and improve comfort year-round. Whether you’re building a new home, upgrading an old attic, or tackling a DIY project, understanding your options for foam board insulation is essential. This guide breaks down everything you need to know about attic insulation, including costs, types, installation tips, and how to source reclaimed or surplus boards — a smart way to save money without sacrificing quality.
Why Attic Insulation Matters
Before diving into types and costs, it’s important to understand why attic insulation matters:
- Energy Efficiency: Heat rises, and without proper insulation, your attic can be responsible for 25–30% of your home’s heat loss. Adding high-quality insulation reduces energy bills.
- Comfort: Proper insulation keeps your home warmer in winter and cooler in summer, eliminating drafts and uneven temperatures.
- Moisture and Airflow Control: Insulation helps regulate attic humidity, reducing the risk of mold and damage to your roof structure.
- Cost Savings: Choosing the right insulation and sourcing reclaimed boards can save 30–70% compared to buying all-new materials.
By understanding these benefits, homeowners can see why investing in attic insulation is a smart, long-term decision.
Understanding Foam Board Insulation
Rigid foam board insulation is a popular choice for attic projects due to its high R-value per inch and ease of installation. There are three main types:
Polyiso (ISO) Foam Board
- High R-value per inch (around R-6–R-6.5).
- Lightweight and easy to cut for DIY projects.
- Excellent for flat or sloped attics.
- Works well with vapor barriers to prevent moisture issues.
XPS Foam Board
- Dense and moisture-resistant.
- Slightly lower R-value per inch (R-5).
- Ideal for attics where occasional humidity may occur.
- Durable and long-lasting.
EPS Foam Board
- Lightweight, cost-effective option.
- R-value varies by density (around R-3.8–R-4.2).
- Often used in large attics or as an additional layer.
- Performs best when combined with other insulation types.
Each type has advantages, and the best choice depends on your attic structure, climate, and budget.
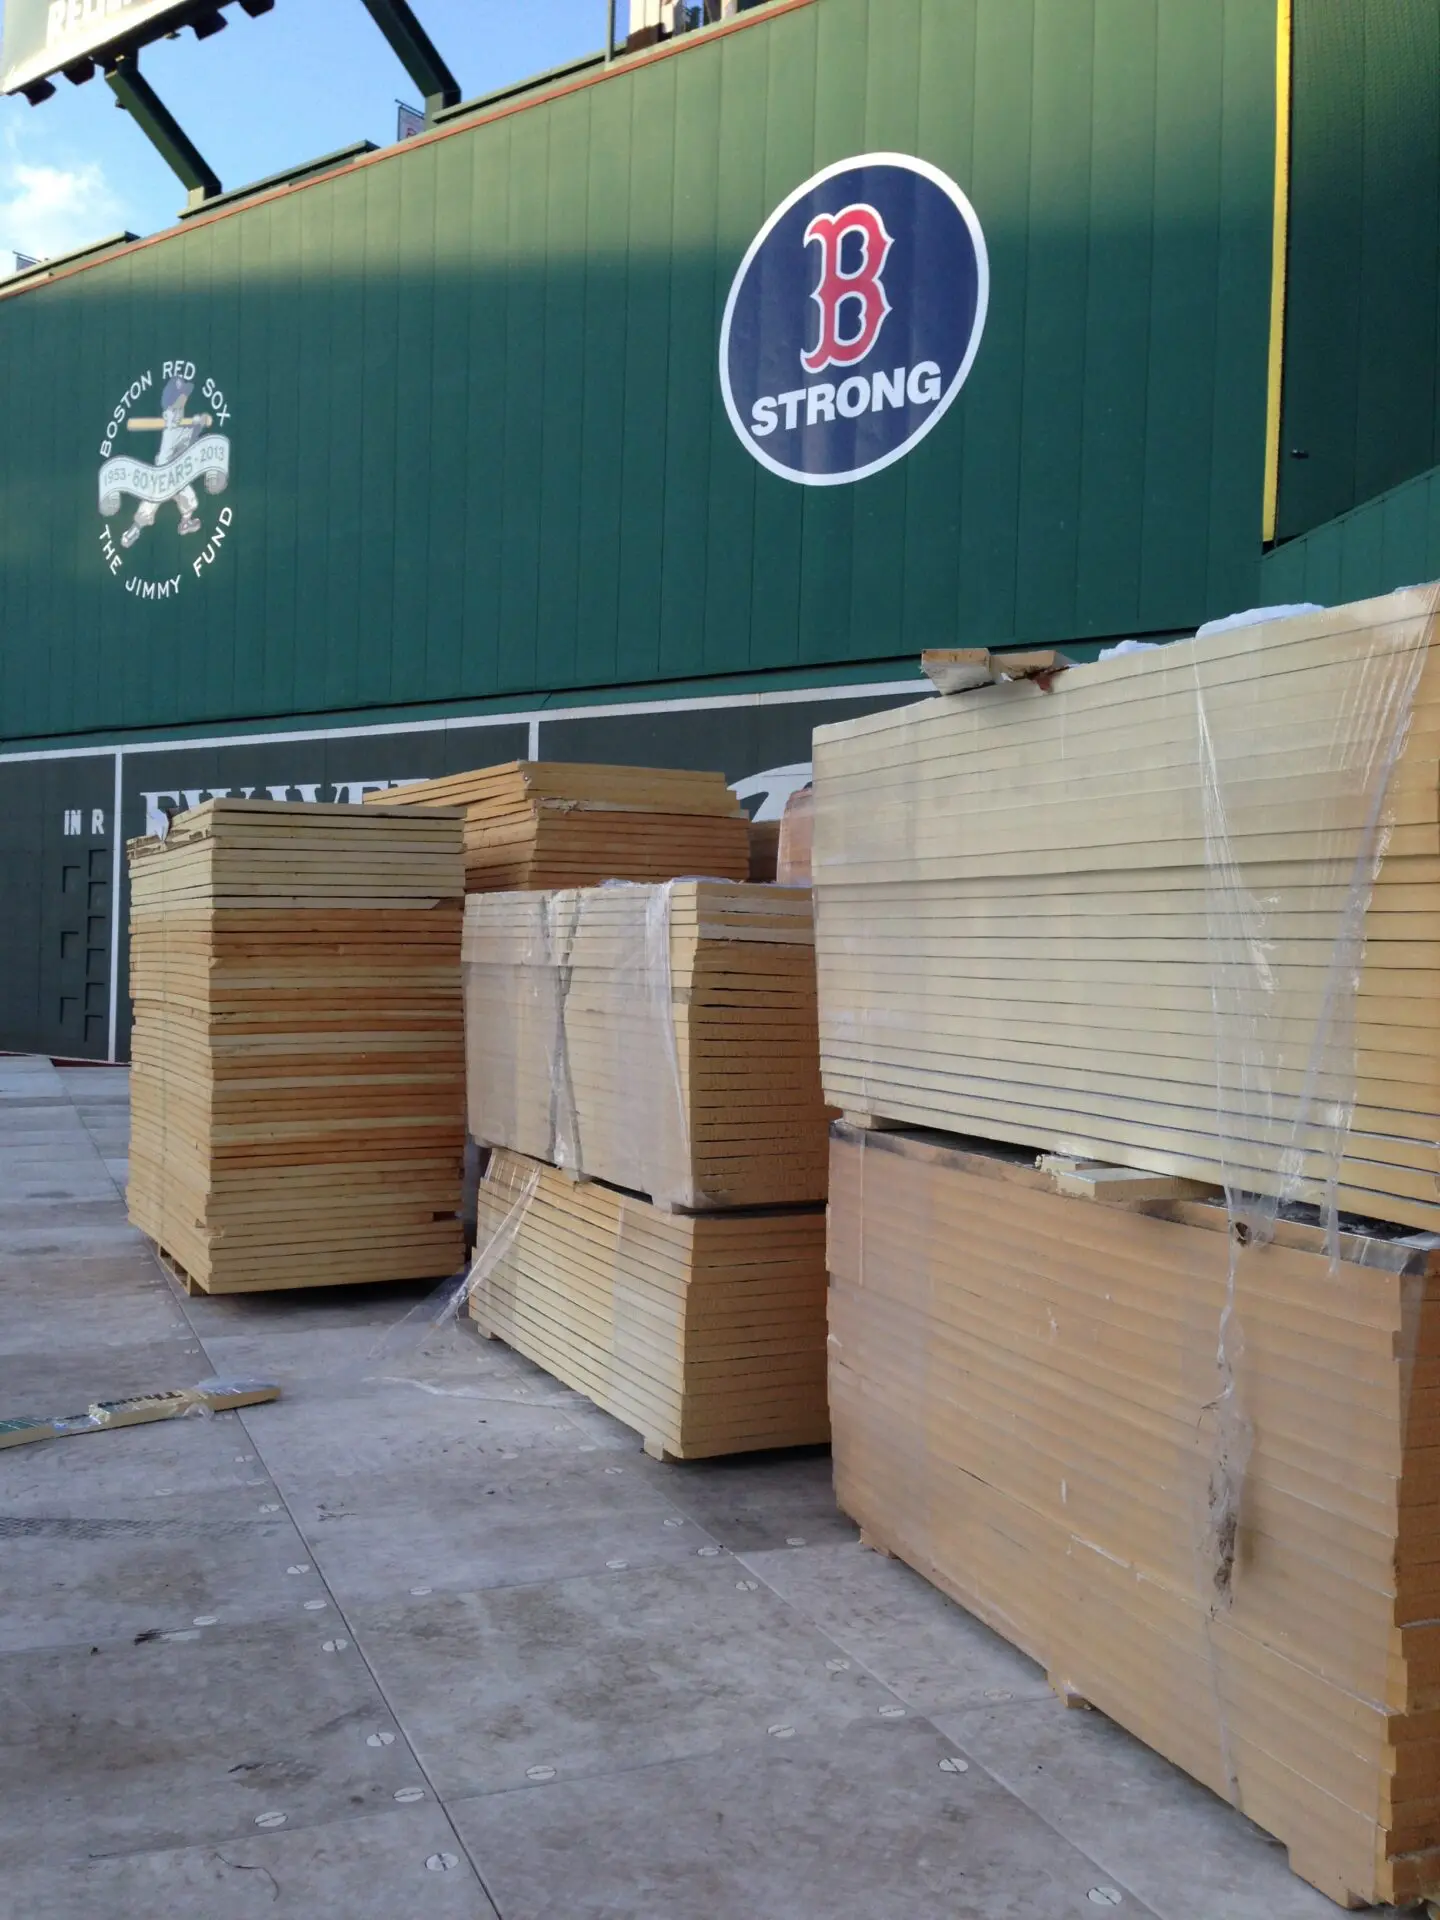
Reclaimed or Surplus Foam Boards: A Smart Option
One way to save money without sacrificing performance is to consider reclaimed, surplus, or factory-second foam board insulation. These boards:
- Offer 30–70% savings compared to new boards.
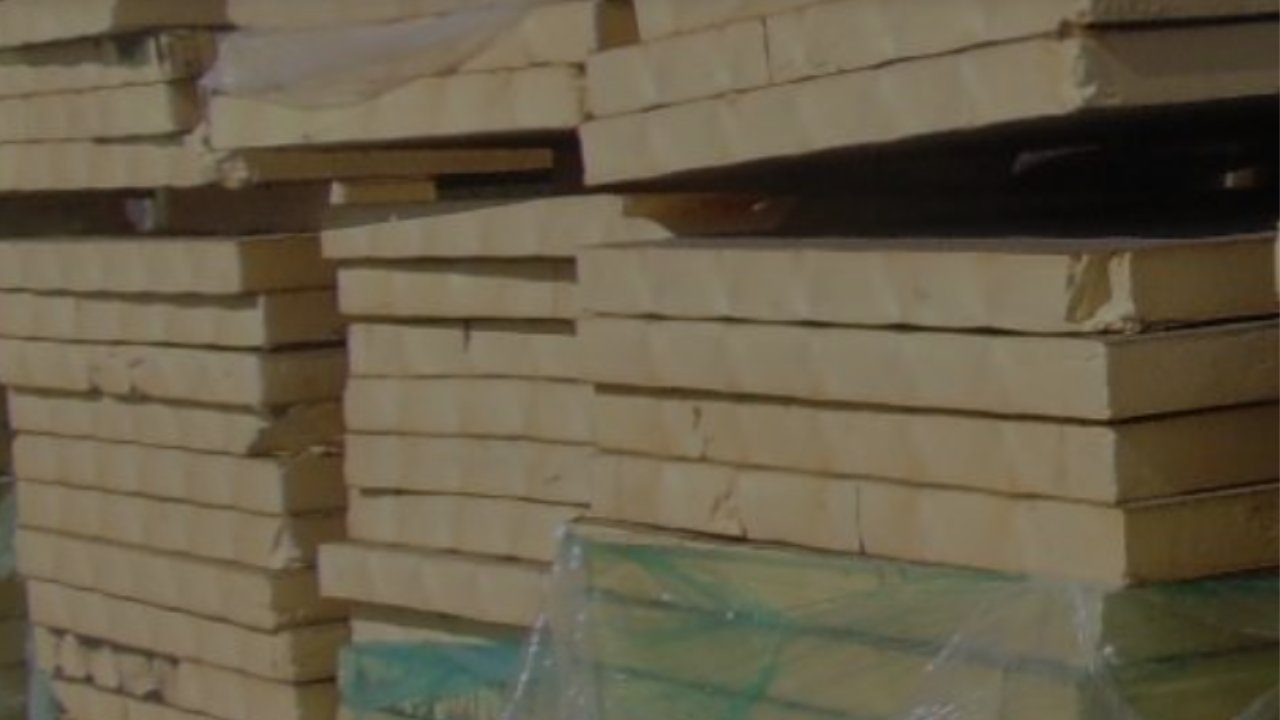
- Retain their full thermal performance, even if cosmetically imperfect.
- Can be sourced from regional distributors, surplus suppliers, or online directories.
Tip: For homeowners tackling DIY attic insulation, reclaimed boards are often available in standard sizes, making them easy to install without special tools.
This approach not only reduces costs but also promotes sustainability, reusing materials that would otherwise go to waste.
How Much Does Attic Insulation Cost?
Attic insulation cost varies depending on the type of foam board, thickness, and whether you use reclaimed or new materials. Here’s a rough breakdown for DIY projects:
Polyiso (ISO)1–2 inches$0.80–$1.50 / sq. ft.$1.50–$2.50 / sq. ft.High R-value; great for flat atticsXPS1–2 inches$0.70–$1.30 / sq. ft.$1.40–$2.20 / sq. ft.Moisture resistant; long-lastingEPS1–3 inches$0.50–$1.00 / sq. ft.$1.00–$1.80 / sq. ft.Lightweight and cost-effective
Remember: These are approximate prices — actual costs vary by supplier and shipping. Using reclaimed foam boards can significantly reduce total project expenses.
DIY Attic Insulation: Step-by-Step
Installing foam board insulation in your attic is manageable for many homeowners. Here’s a step-by-step guide:
1. Measure Your Attic Space
- Calculate the square footage to determine how many boards you’ll need.
- Consider extra boards for cuts and errors.
2. Choose the Right Foam Board Type
- Polyiso for high R-value and flat areas.
- XPS for moisture-prone attics.
- EPS for cost-effective bulk coverage.
3. Gather Tools and Safety Gear
- Safety glasses, gloves, and a dust mask.
- Utility knife or saw for cutting boards.
- Measuring tape, straight edge, and adhesive or foam board tape.
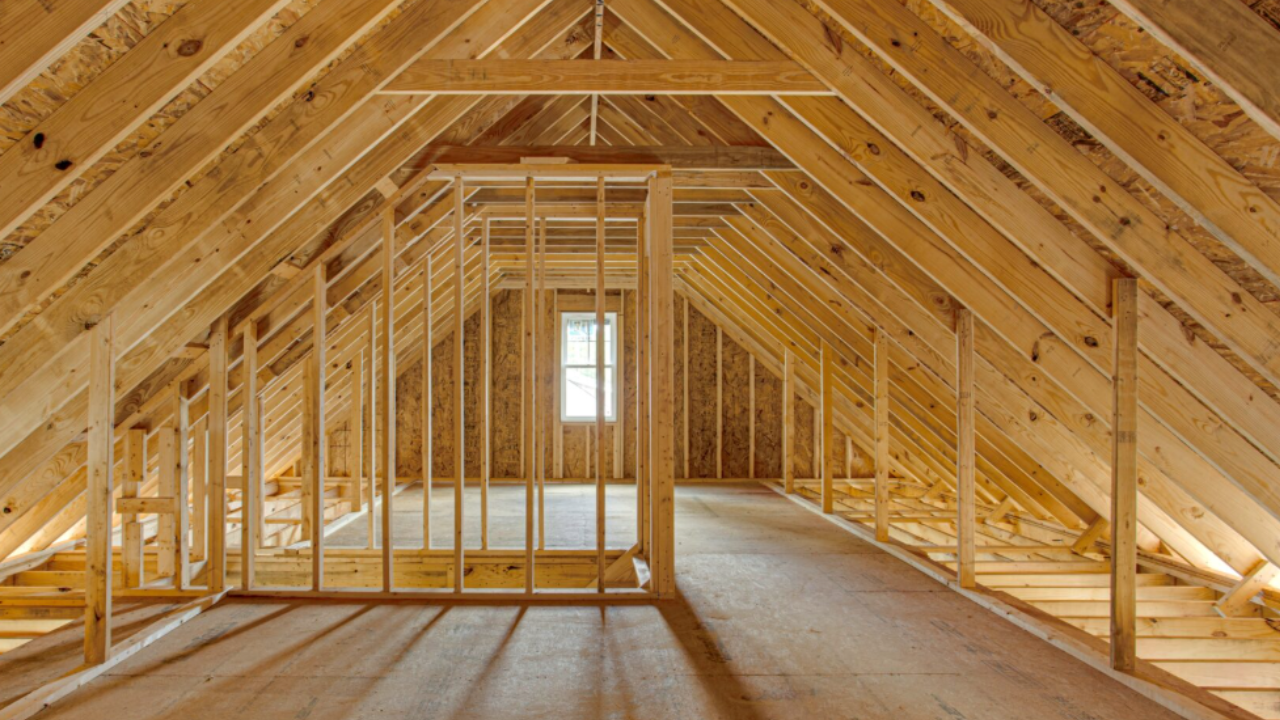
4. Prepare the Attic
- Clear debris and check for leaks or damaged areas.
- Ensure proper ventilation and vapor barriers if needed.
5. Install the Boards
- Cut boards to fit snugly between rafters or joists.
- Use construction adhesive or rigid foam tape to seal seams.
- Layer boards if additional R-value is needed.
6. Seal and Finish
- Check for gaps and seal with expanding foam or tape.
- Avoid covering vents; maintain attic airflow.
Tip: Always follow local building codes when installing insulation.
Related Products for Attic Insulation
DIY homeowners often need additional supplies:
- Foam board adhesive for securing boards
- Foam board tape for sealing seams
- Spray foam for tight corners and gaps
- Safety gear (gloves, mask, goggles)
These products can be purchased alongside reclaimed or new foam boards from suppliers, providing a complete DIY insulation solution.
Frequently Asked Questions
Q: Is reclaimed foam board insulation safe for attics?
A: Yes — reclaimed and surplus boards maintain their R-value and performance. Cosmetic imperfections do not affect insulation effectiveness.
Q: How thick should attic foam board insulation be?
A: It depends on your climate and desired R-value. Many homeowners use 2–3 inches of Polyiso (ISO) or XPS boards for moderate climates.
Q: Can I mix foam types in the attic?
A: Yes. For example, Polyiso can be layered with XPS for moisture-prone areas or EPS for budget savings.
Q: Where can I find reclaimed or surplus boards?
A: Directories like this provide nationwide listings of suppliers offering reclaimed, overstock, or factory-second insulation.
Q: Do I need a contractor for attic insulation?
A: Small DIY projects can be done safely at home. For larger attics or complex layouts, consider a local contractor from our directory.
Conclusion
Proper attic insulation is a high-impact, cost-effective home improvement project. Using rigid foam board insulation, especially reclaimed or surplus boards, can save homeowners money while improving comfort and energy efficiency.
By following this guide, measuring carefully, choosing the right board type, and sourcing boards from reputable suppliers, you can complete a DIY attic insulation project safely and effectively. And for larger projects, working with a contractor listed in our directory ensures professional-grade results.
Start planning your attic insulation project today — choose Polyiso, XPS, or EPS foam board, consider reclaimed options for big savings, and enjoy a more energy-efficient home.
Listings related to Attic Insulation Musts: A Complete DIY Guide to Foam Board and Major Cost Savings
Green Insulation Group
repurposedMATERIALS

Nationwide Foam Recycling
Nationwide Foam recycles all types of foam insulation board and roofing membrane at re-roofing job sites and production facilities across North America.